In today’s fast-paced digital world, high-quality product photography is essential, especially for small businesses and online stores. The good news? You don’t need an expensive DSLR camera to achieve impressive results. With advancements in mobile technology, your smartphone can capture professional-grade product photos, if you know the tricks of the trade. This guide covers everything from basic tips to advanced techniques for taking product photos with a mobile phone.

Why Product Photography Matters?
Product photography is a vital part of your brand’s image. High-quality photos build trust, engage customers, and influence buying decisions.
Since online customers can’t physically interact with products, clear, attractive images help them make informed choices.
Lets dive into some of the important aspects of Product Photography with MOBILE:
Setting Up Your Space for Mobile Product Photography:
- Choosing the Right Background:
- Choosing the Right Background:
The background should complement your product, not overpower it. For most products, a clean, neutral background like white or light grey is ideal, as it highlights the item without distracting from it. Experiment with materials such as poster board, plain cloth, or even textured paper to achieve a variety of looks.

2. Controlling Lighting:
A common mistake in mobile photography is using inadequate lighting, which can result in dull or grainy images. To ensure clear and professional results, position your setup near a window with natural light, avoiding direct sunlight, which can create harsh shadows. Alternatively, you can use soft, diffused lighting from lamps or LED lights to achieve a balanced look.

3. Creating a Simple Studio at Home:
Transform a small area in your home into a mini-studio using affordable props. A table, a few boards for background and bounce, and a ring light or two can work wonders. This setup will give you a consistent and manageable workspace for your photoshoots

Essentials for Mobile Product Photography:
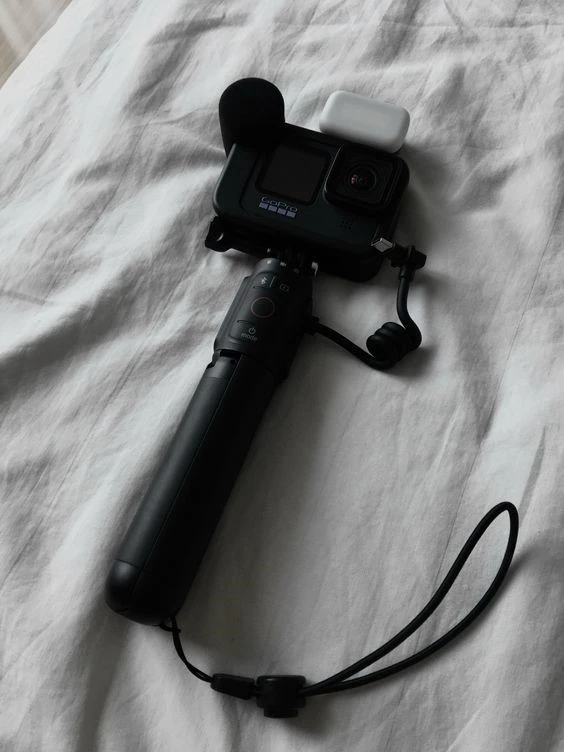
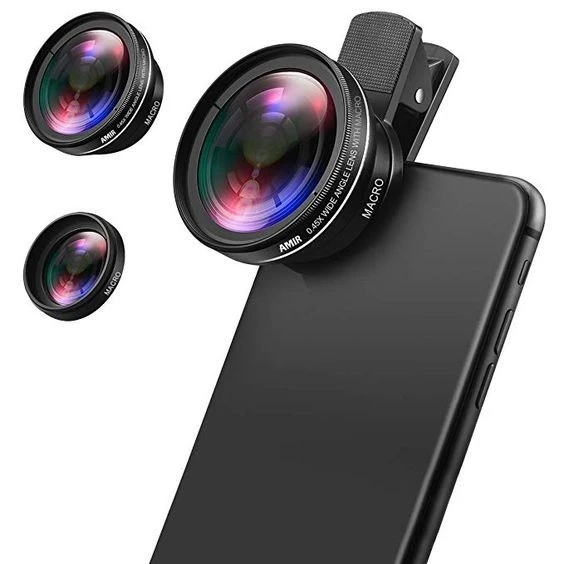
- Using the Right Mobile Accessories & adding a few inexpensive accessories can take your mobile photography up a notch:
- Tripod: Keeps your phone steady, reducing blur from shaky hands.
- Lens Attachments: These enhance your phone’s camera, adding versatility to your shots (e.g., macro lens for small products, wide-angle for larger items).
- Ring Light: This can help achieve uniform lighting, especially useful for jewellery or small items


2.Understanding Your Camera Settings:
Familiarize yourself with your phone’s camera settings. Most phones allow you to control ISO, focus, exposure, and white balance. By understanding these controls, you can adjust for different lighting conditions, maintain color accuracy, and improve overall image quality
3. Best Apps for Editing Product Photos: There are several apps specifically for mobile photo editing:
- Snapseed: Free and packed with features for color correction, sharpening, and selective adjustments.
- Adobe Lightroom: A favorite for professionals, offering in-depth control over exposure, contrast, and color tones.
- Canva: Good for social media images, adding text, and creating visual marketing materials


Techniques to Enhance Mobile Product Photos:
- Achieving Good Composition:
Composition is about arranging elements within the frame. For product photography, simplicity is key. Avoid busy backgrounds and unnecessary props. Let your product be the focal point, using minimal props to support rather than distract from the main item.
- Using the Rule of Thirds:
The rule of thirds involves dividing your image into a 3×3 grid. Position your product along these lines or at intersections to create a more balanced, visually pleasing photo. Many phones offer a grid feature that makes it easy to use this rule while composing your shot.
- Playing with Angles and Perspectives:
Different angles can make a product look more dynamic and appealing. Capture multiple angles: straight-on, top-down, and at a slight angle to provide varied perspectives. Try using a lower angle to make the product look more substantial or shooting from above for a flat lay effect.
Lighting Tips for Professional-Looking Product Photos:
- Natural vs. Artificial Lighting:
Both natural and artificial lighting have their benefits. Natural light is softer and more flattering, ideal for a warm, inviting look. Artificial lighting, like LED lights or soft boxes, gives you more control over consistency, allowing you to shoot any time of day.
- Diffusing Light for Soft Shadows:
Diffuse lighting softens shadows, giving the photo a polished look. You can achieve this by placing a white sheet or light-diffusing material between the light source and the product. This technique is especially helpful for small items like jewelry or glassware, as it avoids harsh reflections.
- Using Reflectors:
Reflectors bounce light back onto the product, reducing shadows and enhancing highlights. A simple piece of white paper or foam board can act as a reflector, giving your image depth without overpowering shadows.
Editing Your Photos for a Polished Look:
- Simple Touch-Ups:
Editing can transform a decent photo into a great one. Start with simple adjustments to brightness, contrast, and sharpness. These subtle changes help make the product appear clearer and more vibrant.
- Enhancing Colors and Contrast:
Accurate colors are crucial in product photography. Adjust the color balance to reflect the true colors of the item. Increasing contrast slightly can make the product stand out more, especially against a light background.
- Removing Backgrounds and Creating Depth:
Some editing apps like Photoshop Express or Canva offer tools for removing backgrounds. This technique is useful if you want to place the product on a clean, white background for an e-commerce site. You can also add depth by blurring the background slightly (if supported by your editing app) to make the product stand out more.
Common Mistakes to Avoid:
While experimenting is encouraged, here are a few common mistakes to watch out for:
- Cluttered Backgrounds: Too much going on in the background can make the photo feel unprofessional.
- Ignoring Camera Settings: Automatic settings can limit quality. Take the time to manually adjust exposure and focus.
- Over-Editing: Too much saturation or contrast can make the product look artificial, which may deter customers.
Conclusion:
With a bit of practice and creativity, mobile product photography can look every bit as polished as a professional shoot. The key lies in understanding your phone’s camera capabilities, setting up the right environment, and learning the essentials of lighting and composition. Start small, experiment with different techniques, and continually refine your approach. By following the tips in this guide, you’ll be well on your way to creating compelling product photos that enhance your brand’s image and boost your sales. Happy shooting!


Your blog is a testament to your dedication to your craft. Your commitment to excellence is evident in every aspect of your writing. Thank you for being such a positive influence in the online community.
Thank you from the bottom of our hearts for your generous words! We’re deeply humbled by your recognition of our dedication and commitment to excellence. It’s our privilege to contribute positively to the online community, and your encouragement fuels our passion to continue delivering high-quality content. We’re grateful for readers like you who make our efforts worthwhile.