
Each one of us as photographers want to capture sharper images. Here’s how to capture minutest detail in each and every shot, from start to end.
One of the most frustrating things that a photographer faces is soft and blurry images. Crystal clear and Sharp photos are visually much more appealing than soft blurry images. It always disappoints me when I take a picture of a precious moment to find out later that it is blur or not as sharp as I wanted it to be. So, today I will take you through my learnings of capturing sharp and focussed images.
Let’s understand , why do images come out blurry.
A long shutter speed can capture camera shake, which would produce a blurry image
- The subject could be in motion and causes motion blur.
- Inaccurate focus results in blurry images.
- The lens sometimes is not capable of producing sharp photos
- A higher ISO may result in lots of noise and loss of detail.
- A long shutter speed may result in blur images as it captures camera shake.
In order to get super sharp images, we need to address all the above mentioned issues together, all at the same time. There are certain other factors too that cause out of focus images as listed below:
1.Set the right ISO:
Always set ISO (sensor sensitivity) to the lowest value (For E.g. ISO 100) in your camera as at this value, images captured would be of highest quality with maximum sharpness. Remember the Higher the ISO, higher will be the noise in the image.
2. Choose Your Camera Mode Wisely:
While using DSLR, as per the required image, we need to choose the Camera Mode accordingly. So. lets see when to use APerture Mode or Shutter Priority Mode .
When shooting in low light, maximum time, try and shoot in Aperture Priority mode and set aperture to the widest setting ,i.e the smallest f-number. This normally is between f/1.4 to f/5.6 depending on the lens. (For example, with the Nikon 35mm f/1.8 lens, I will set the aperture to its maximum value of f/1.8.) This helps camera to automatically meters the scene and analyse what the shutter speed should be to get proper exposure of the image. You can then adjust the exposure compensation , if required. So, set lowest aperture (f-stop) possible in Aperture Priority mode so as to get the accurate shutter speed. So, here both the elements Aperture and Shutter speed go hand in hand and not in isolation.
3.Pick a Fast Enough Shutter Speed:
Once the camera is set to aperture priority along with the right metering mode, now its the time to set the shutterspeed right, for this we need to point our camera at the subject and half-press the shutter. This will show you the shutter speed on the bottom of the viewfinder of your camera .
- If the shutter speed displayed is 1/100 or faster, it will give you a good picture . click a few images and see if your images are sharp or blur. If they are blur, check for any moving objects , in this case you can try using a faster shutter speed say 1/200 or 1/500
- If the shutter speed is below 1/100, then there will not be enough light entering the lens.So, you need to get more light , may be through windows, doors or putting on extra lights, This will automatically increase the shutter speed. It may become difficult to get sharp pictures with longer shutter speed .

4.Use High ISO in Dark Environments:
After adjusting shutter speed, if the images are still coming out blurry, check whether you are holding camera steadily, if the camera is shaking then that will show up in the image. If that too doesn’t help, try going for a faster shutter speed and increase your ISO. Especially if the environment is dark, its better to shoot with higher shutter speed and higher ISO , which may result in some noise but would be better than a blurry image.
5.Enable Auto ISO:
Another option to capture sharp images would be to switch to Auto ISO mode available with many cameras these days.Enable the option of AUTO ISO and that will give you ISO as per the surroundings.
If you don’t have the AUTO ISO feature, you can fix the minimum shutter speed to 1/100 second , this will be useful when not enough light is entering the lens, as it will prevent the shutter speed from going below 1/100 and will increase the ISO by default to create a balance thereby giving a sharper picture.
If your hands shake a lot, It is recommended to set the minimum shutter speed anywhere between 1/200-1/250. If there is AUTO minimum shutter speed feature available, set it to faster speed . Some of the cameras may not have an Auto ISO feature, then ISO needs to be adjusted manually. So for darker environments, we need to raise the ISO and shutter speed accordingly. Remember not to raise the ISO above 1600 as far as possible or else you may get a lot of noise in your image.
6.Hold Your Camera Steady:
How you hold your camera also effects the sharpness of your image because while you are holding the camera , your stance, breathing pattern, camera holding technique, everything will reflect in your image. Slightest shake will make your image Out-of-Focus. Also, remember, longer the shutter speed greater are the chances of a blurry image. So try and be steady while capturing a shot to get sharp images.
7.Focus Carefully on Your Subject:
Another Vital factor for a sharp image is correct focus on the subject as it plays an important role in producing sharp images. Firstly, you need to decide whether the blur image is because of problem in exposure, camera shake or accurate focus is the issue.
It sometimes happens that subject is blur but something else that is close to or far away from camera ,is in focus, this clearly indicates a focus problem. Other possibility is, that the whole picture is blurred, then we need to try and set correct ISO and shutter speed. And finally if something that is in motion in your image, goes out of focus , then again we need to switch to a faster shutter speed to remove the motion blur.
Try these tips to get a perfect focus:
- Make sure there is good amount of light for your camera to properly focus. Low light may disturb your focus resulting in blurry images.
- Always try to use centre focus point which is most accurate . If the focus point is somewhere else, get it back to centre .
- Auto Focus in cameras work by identifying the contrast around the focus point. So, try placing the rectangular mark on the areas which has the most contrasting details of the image.
- Do multiple focus trials to get subject in focus. Keep checking your images for any adjustments needed for a sharp image.
8.Reduce Motion Blur in Your Subject:
When you are shooting people, make sure that they stand still without any movement as slightest movement of your subject while using slow shutter speed will result in a blurry image. This situation when subject moves when shutter is still open is called MOTION BLUR. This effect may look good with certain obects like moving vehicles, especially cars and bikes.
But if you want the motion blur effect, then set your shutter speed to 1/10 or even to few seconds and always use a tripod to get the desired effect. And if you want to shoot fast moving objects, choose a fster shutter speed , say1/1000 to get the sharp image and the subject will be in focus.
9. Turn On Vibration Reduction:
Another feature available in some cameras is of Vibration Reduction or Image stabilization to get sharper images. You just have to enable the feature to get super sharp images. There are certain lenses available that too have the anti-shake or vibration reduction technology empowering us to use lower shutter speed and capture sharp images. When using these lenses, minimum shutter speed can be set to1/50 also while using AUTO ISO Mode.
10.Use a Faster Lens:
Get A good fast prime lens such as the Nikon 35mm f/1.8 DX or 50mm f/1.4 / f/1.8 lenses, that are budget friendly also help in taking the image quality to the next level. These prime lenses have simple designs and are optimized to perform for only one focal range. They are a good choice for low-light and portrait photography.
Beautiful Bokeh Effect (blur background effect) is created with the shallow depth of field of these prime lenses. It makes a huge difference in the sharpness of the images captured.
11.Use Depth of Field Strategically:
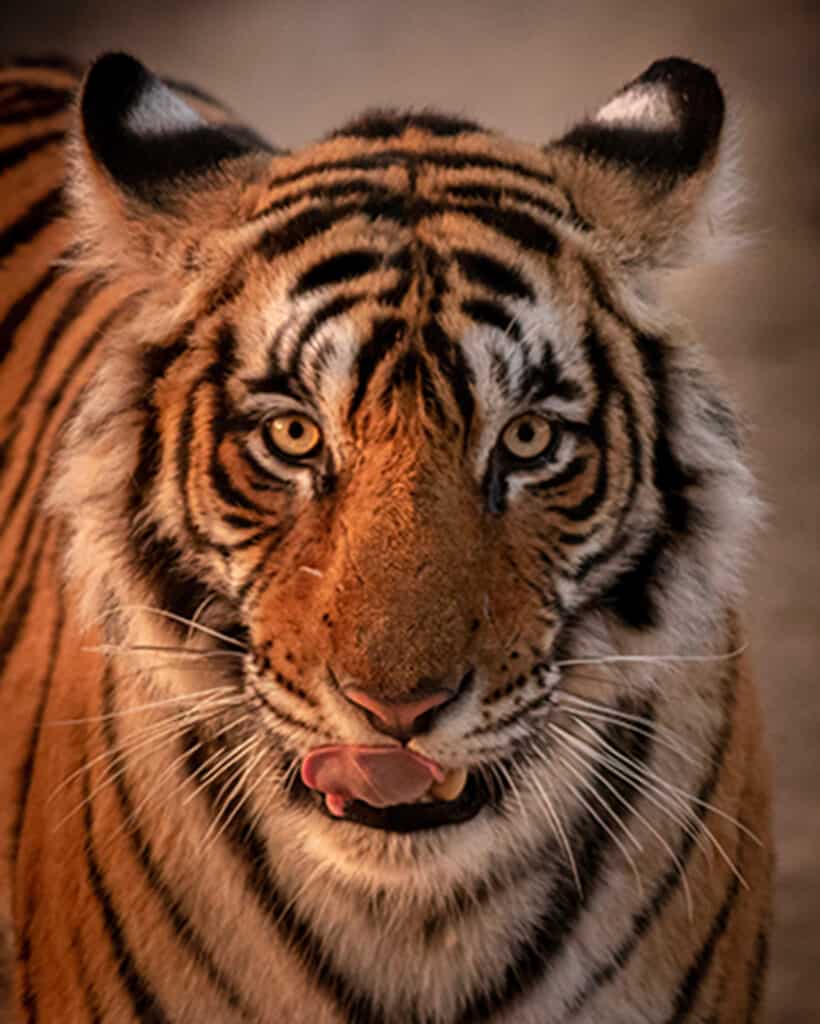
While shooting people or animals, always focus on the eye closest to the camera. This is very helpful while shooting with large apertures between f/1.4 to f/2.8 which results in shallow depth of field. The image with shallow depth of filed gets accepted as long as the eyes of the subject is in focus.
12.Pick a Sharp Aperture:
Aperture plays a vital role in getting optimal sharpness. For shooting landscape, try and use apertures between f/8 to f/11, and for portraits, use apertures of f/1.4 to f/8, depending on the background of the image. While Shooting in bright sunny day, set aperture between f/4 to f/8 and note the effect on the image. Point to remember is that choice of aperture will alter the depth of field and will show up in the image sharpness as well as the bokeh effect of the lens.

13.Clean Your Lenses:
One of the most basic requirement which is often over looked is Cleaning of Lenses. And it’s a major factor as dirty lens will result in incorrect focusing of lens and bad contrast in the image. Also, when using mobile to click pictures, always clean your mobile lens as it lies in the pockets, or bags where lot of dust sticks to the lenses, so its really important to clean your mobile lens as well.
14.Use a Tripod in Low Light:
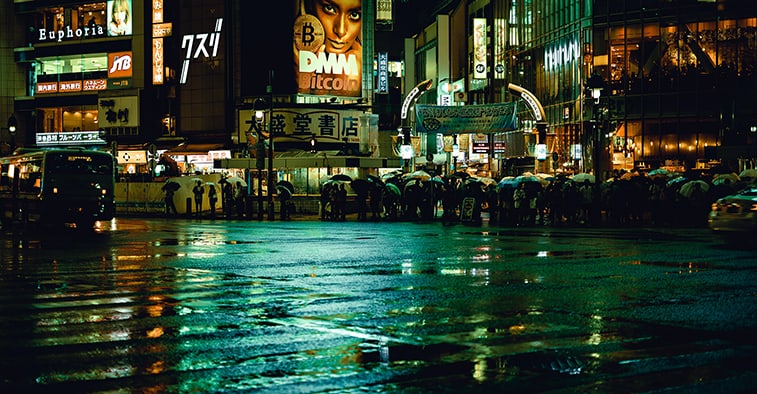
Another very important accessory for slow shutter speed or low light photography is using a tripod. Fireworks, city Lights, Waterfalls, Lightening , etc, will surely need a Tripod to get the satisfied effect in the image. Always, buy a sturdy and strong tripod designed for DSLR or Mirrorless camera.
15.Shoot a Burst of Photos:
Another feature that can be used is Burst Mode ( Continuous shooting mode) by holding the shutter button especially shooting subjects like sports photography, shooting children airplanes, etc So, when you set your camera to burst or continuous shooting mode, camera takes multiple images of the subject which may give you just the kind of image you are looking for, may be an emotion or a action that becomes the highlight of the shot.
Conclusion:
This list is not exhaustive, there can be many more ways to capture a shape image .If you come across any such idea please do message me , I would be more than happy to try it at the earliest. Hope you enjoy trying out these ideas. I am always available for any further questions, just leave them in the comment section and I will surely get back to you.