
The still life photography genre to create attractive photographs of food is known as Food Photography. The products used in advertisements, magazines, cookbooks, and menu books are the specialization of commercial photography. Food photography is difficult as image composition is an art itself. But it is crucial as it builds a brand and tells a story.
Let’s look at some of the fundamental aspects of Food Photography
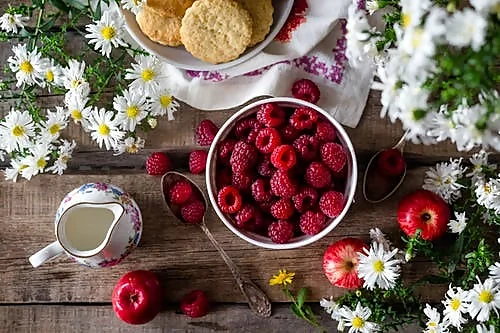
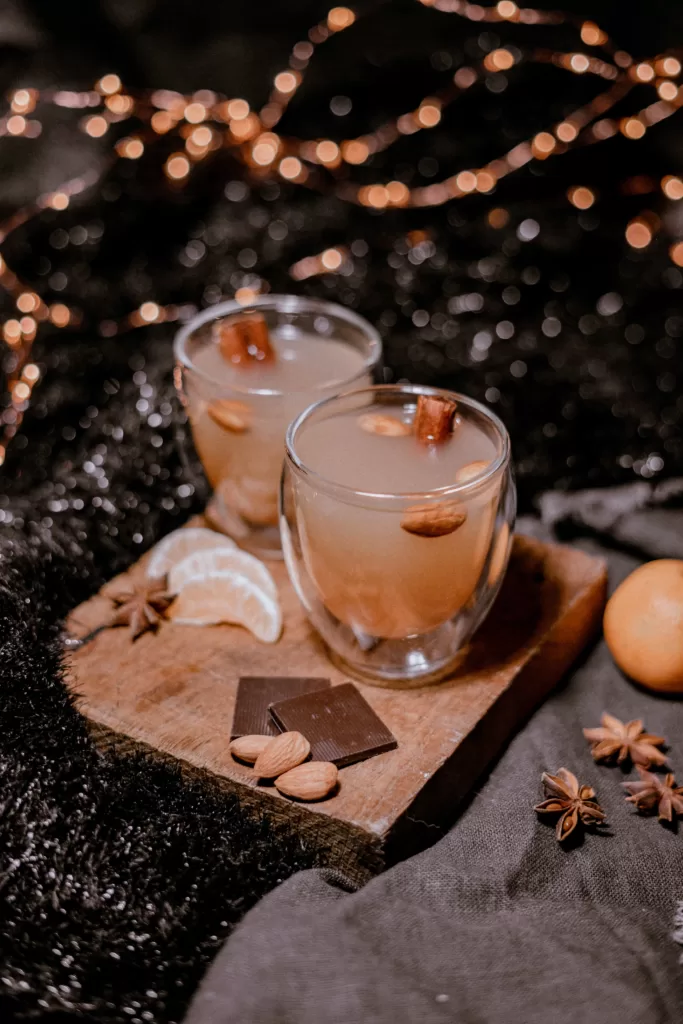
1.Plating:
Plating the food is one of the essential factors while shooting food. One thing to keep in mind is that attention should directly go to the food. We need to keep things simple. Always look for the latest trend in food photography. Work more on the presentation. Food should look mouthwatering and fresh. Click pictures with different angles.
2. Preparation and pre-shoot
Start presentation and preparation while the food is cooking. Bring the food and all its components & start placing the elements and shoot as per the light. Be very well prepared before you start shooting. The food should look neat, and the edges of the tableware should not look dirty.
- Think about the colors and features of the dish.
- Table setting can make or break food photography.
- Choose background carefully. The arrangement of various elements is composition.
- Grey, white, & black usually go with all food colors.
- All the things on the table should compliment the main food.
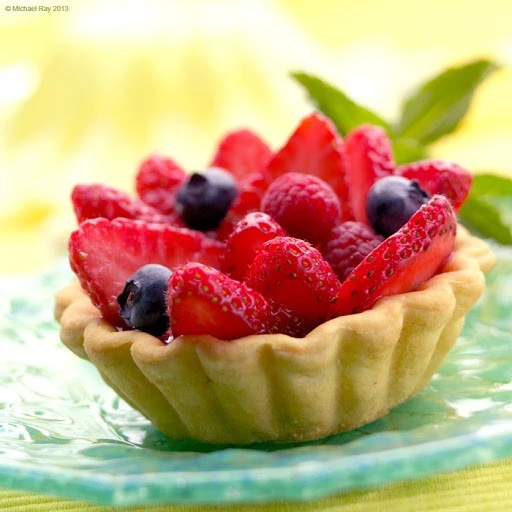
3.Angles:
- Top angle is crucial in the Indian context.
- Shoot from Top angle – Flat layout (Height of the dining table is lower than human eye level).
- Try the Camera tilting down.
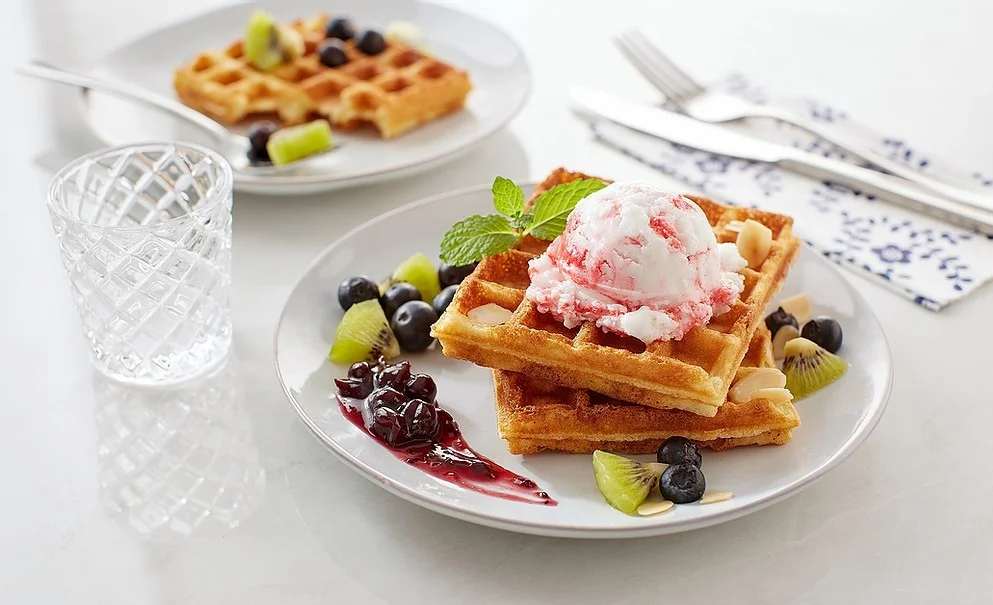
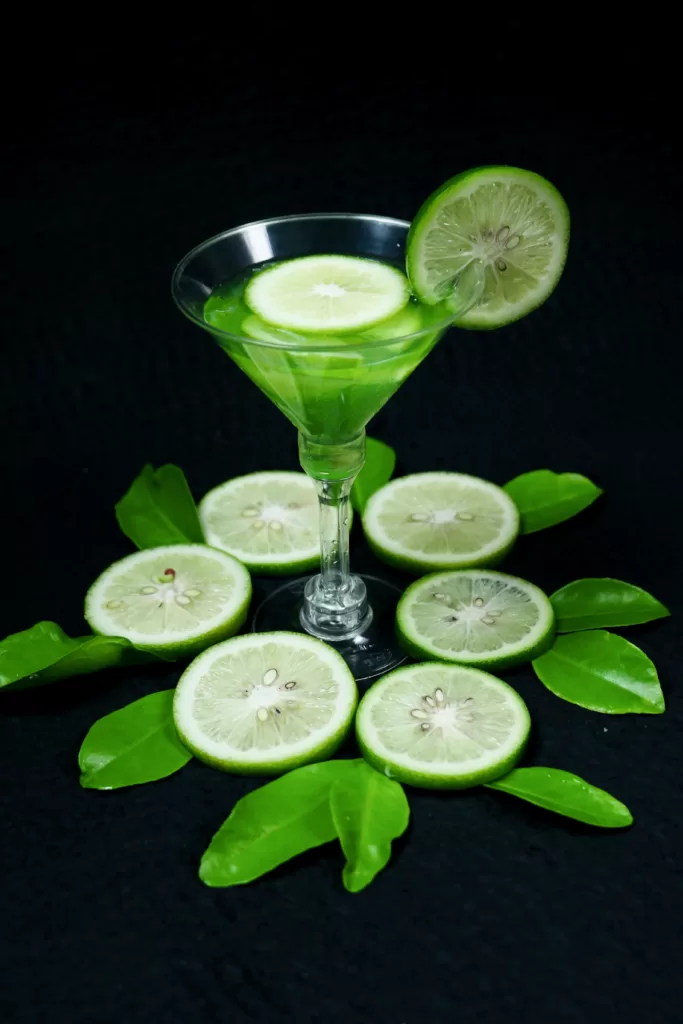
- The camera should be positioned at the same height as the food for Beverage, juices, drinks, etc.
- For Cakes, always use Lower angle shots as there are many layers and 6 inches above the cake to see all the toppings. (Cakes have height so try to go lower, just about 5 or 6 inches above it).
Also, note that things that are near the camera appear bigger rather than the things away, but a flat angle gives equal importance to all elements in the plate.
Tricks: When things don’t fill the bowl then keep the other bowl smaller in size and upside down so this will make the place fuller when the quantity of food is less.
4.Light:
- During the day, the direction of the shadow changes. So it is crucial to check the direction of the light and shadow.
- For food photography, the primary source of light should be from the side and going back. The light should not be in front of the food. Do not use Flash for clicking the photo. It should be from the side or the back.
- For food photography, avoid using dark shadows on food. Light has to be soft and the shadow should not be harsh or dark.
- Avoid Direct Sunlight. Use white or silver paper for reflection so that the color of the food does not change.
- Shoot with backlight or sidelight for food (Sidelight brings good textures in food).
- Windows should be as per angles of the light.
- Shine is very important and only these directions bring light into your photograph.4.
5.Lenses:
Another important aspect is to choose the right lenses as well as a tripod.
- Objects near the camera seem to look big while the ones far from the camera look small.
- If shooting with all equal-sided objects, then all of them should look equal, or the small should look small and the big should look big.
- Use telephoto lenses (Above 50 MM). If it is used at 18MM then the objects will appear distorted. Keep a 3-4ft distance between the object and the camera.
- If you shoot in natural light then you will get good tones. But while using artificial lights, use the white balance. That is if the white color appears perfect then add other colors to it so that they all will look perfect, and also try to keep the white color as accurate as possible.
6.Camera:
- Any Entry level camera like 1500D Canon is good for Food photography.
- Top layout & tilty camera with mobile can help to take good shots.
- Light cutter (Black paper) can help you cut out light that you don’t want in the photograph.
- Telephoto lens- Anything above 50MM seems good too for food photography.
Some More Tips:
Check these Useful tips for editing food shots:
- Use Matching colors- Don’t use warm tones. The white should look white.
- If using colored tableware, it should not disturb the main food.
- Reflection of oils sometimes looks very good. Use a filter to get a beautiful picture of the reflection.
- Control aperture to get the depth of field (ISO 100 Aperture priority mode).
- Visualize more to get good pictures.
- Study the color wheel (Sometimes contrast and sometimes similar tones looks good)
- Take pictures from a distance and then crop them to get the right perspective.
- While using the top light, the shadow formed underneath is not appealing, so always use directional light to get the highlights (shine) in your food.
Conclusion:
Always Experiment & explore with Angles, Lights, Textures, Colours and, even Processes of food.
Try to take shots from as many angles as possible. Please note that you need to act fast till the food is fresh.
Shoot with all angles and proper light setting and then decide the most appealing pictures.
Food is the new Mood. So try to make it look as appealing, as presentable and, as Tempting as possible.
I hope that this post will surely help you click delicious and lip-smacking pictures of your food and take your Food photography to the next level.